Simple Pillow Covers
When my father-in-law died last year I saved a bunch of his shirts, intending to use them for some sort of memory quilt. My husband is one of 8 siblings, so I decided to make 9 throw pillow covers, so each of them, including his mom, could have a small remembrance of him. Now, a year later, I realized I’d better get moving on this project, because we have a family reunion coming up in July.
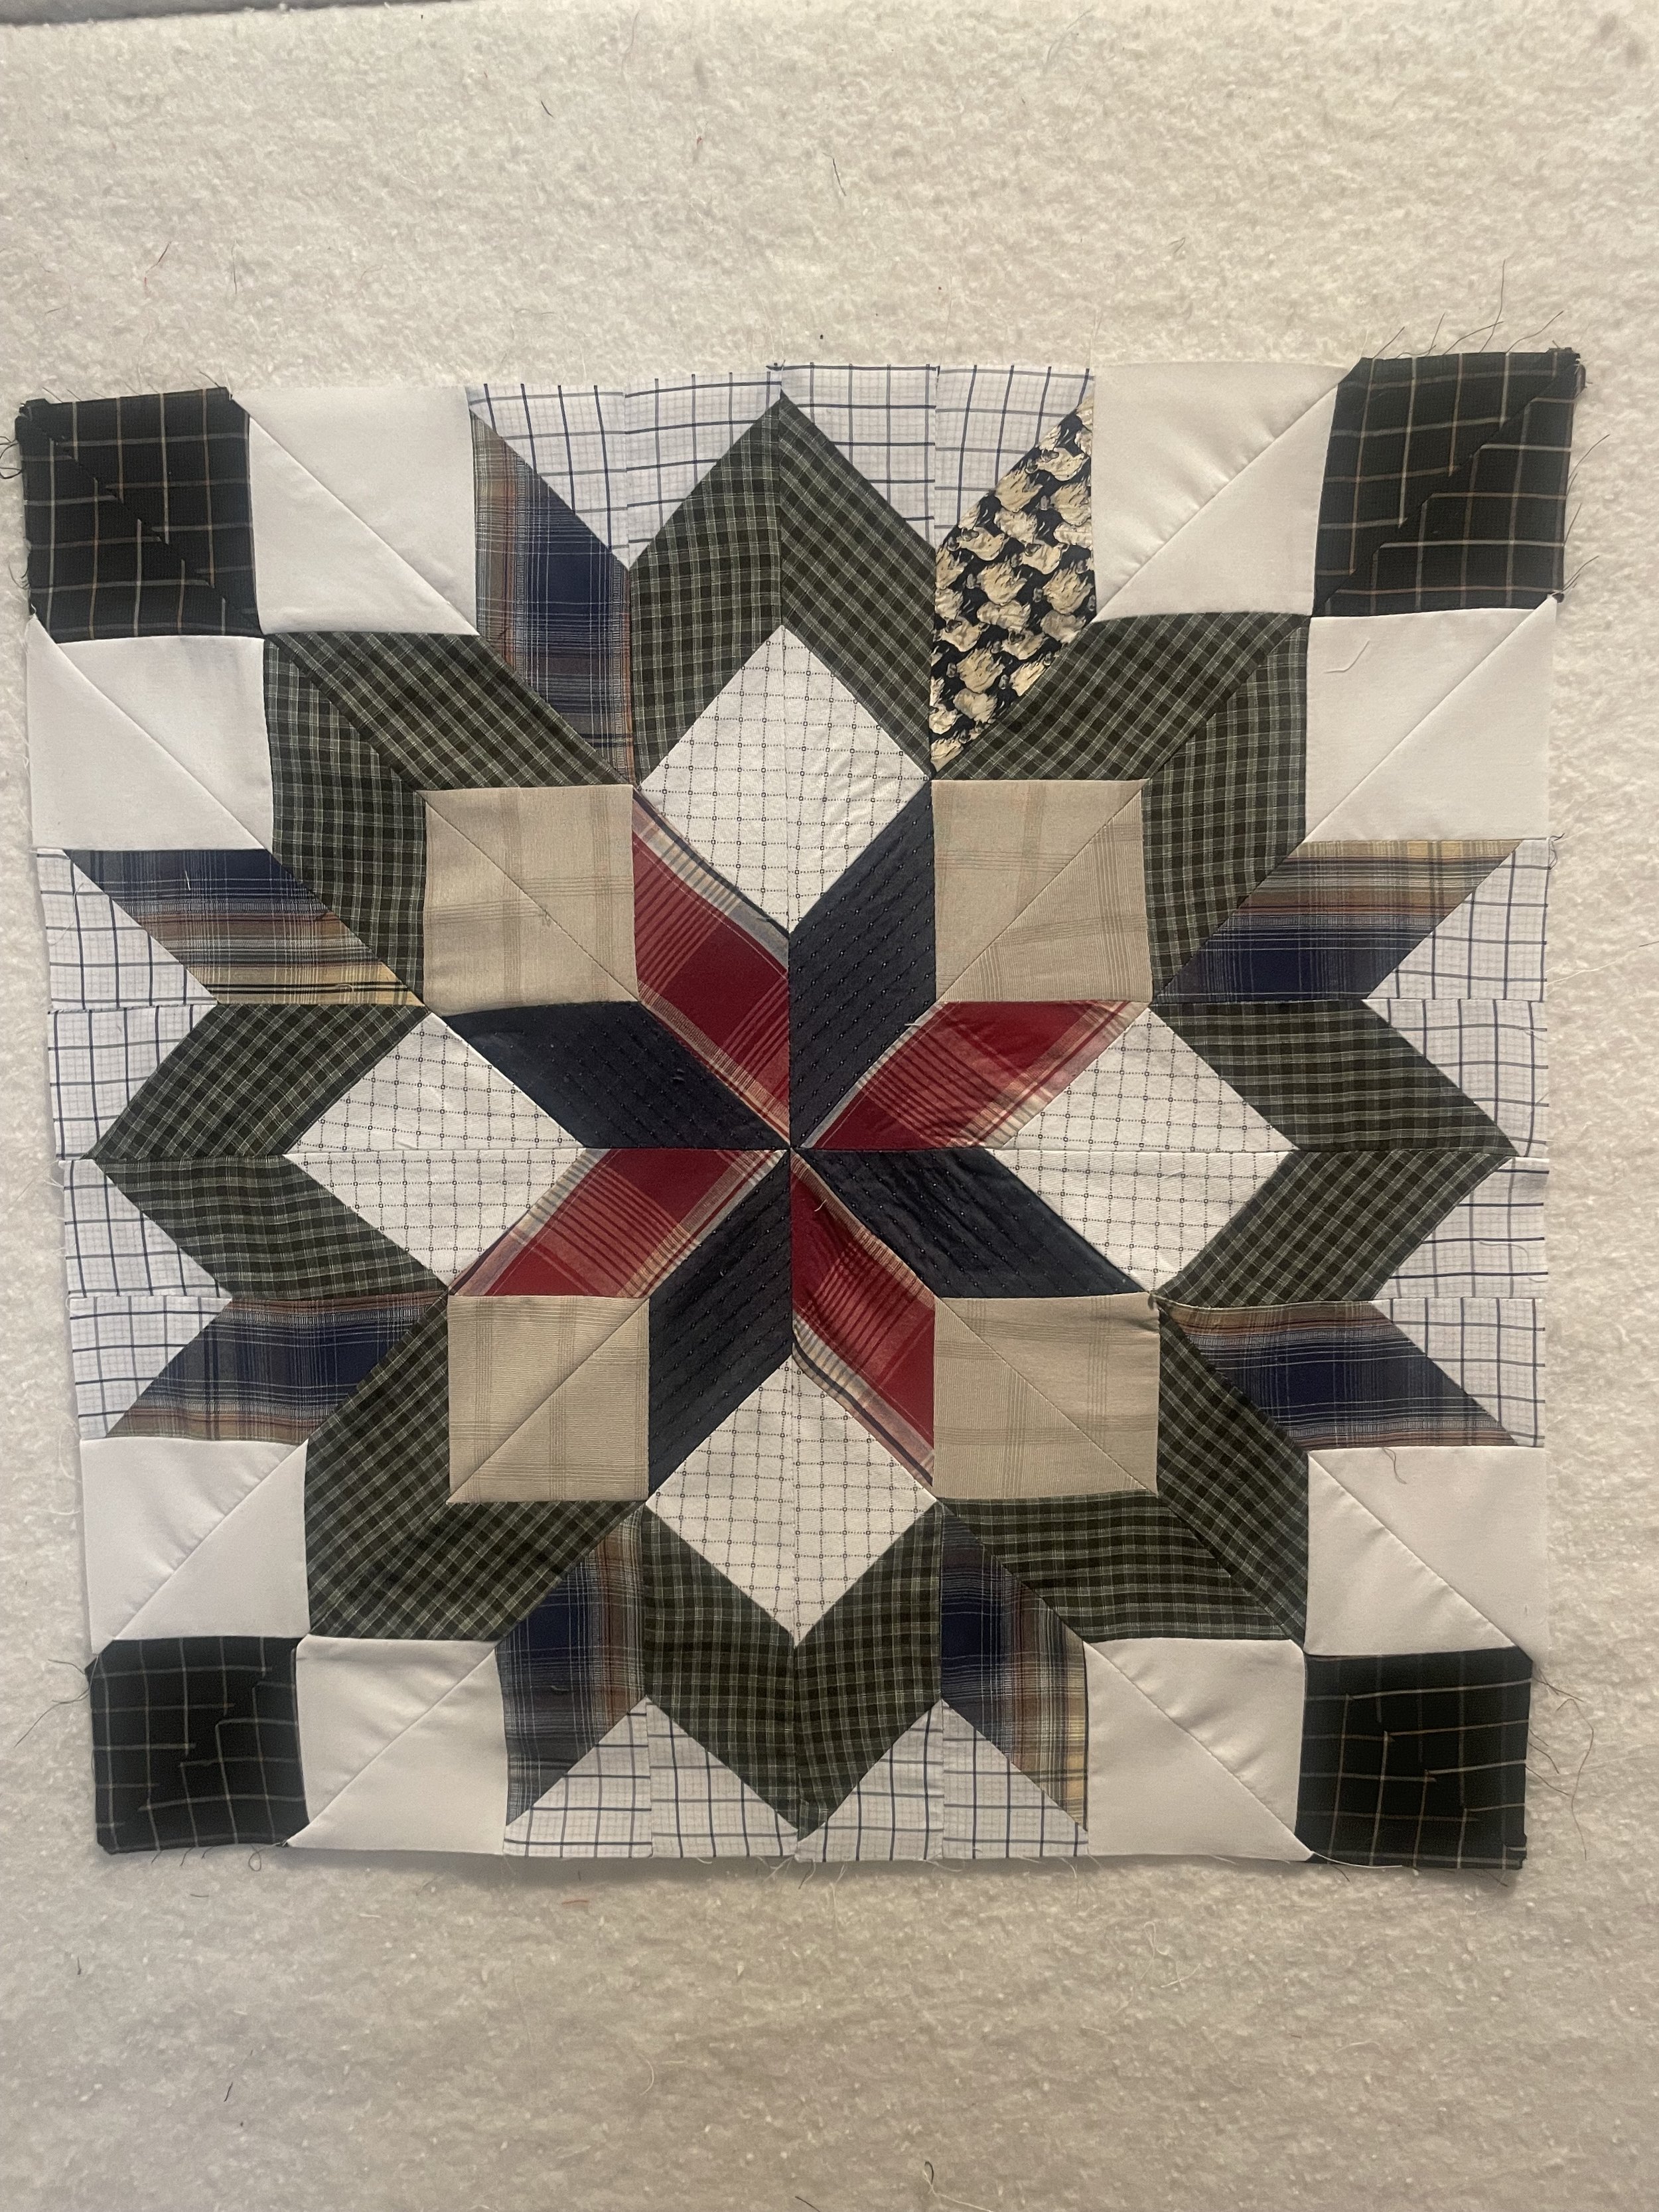

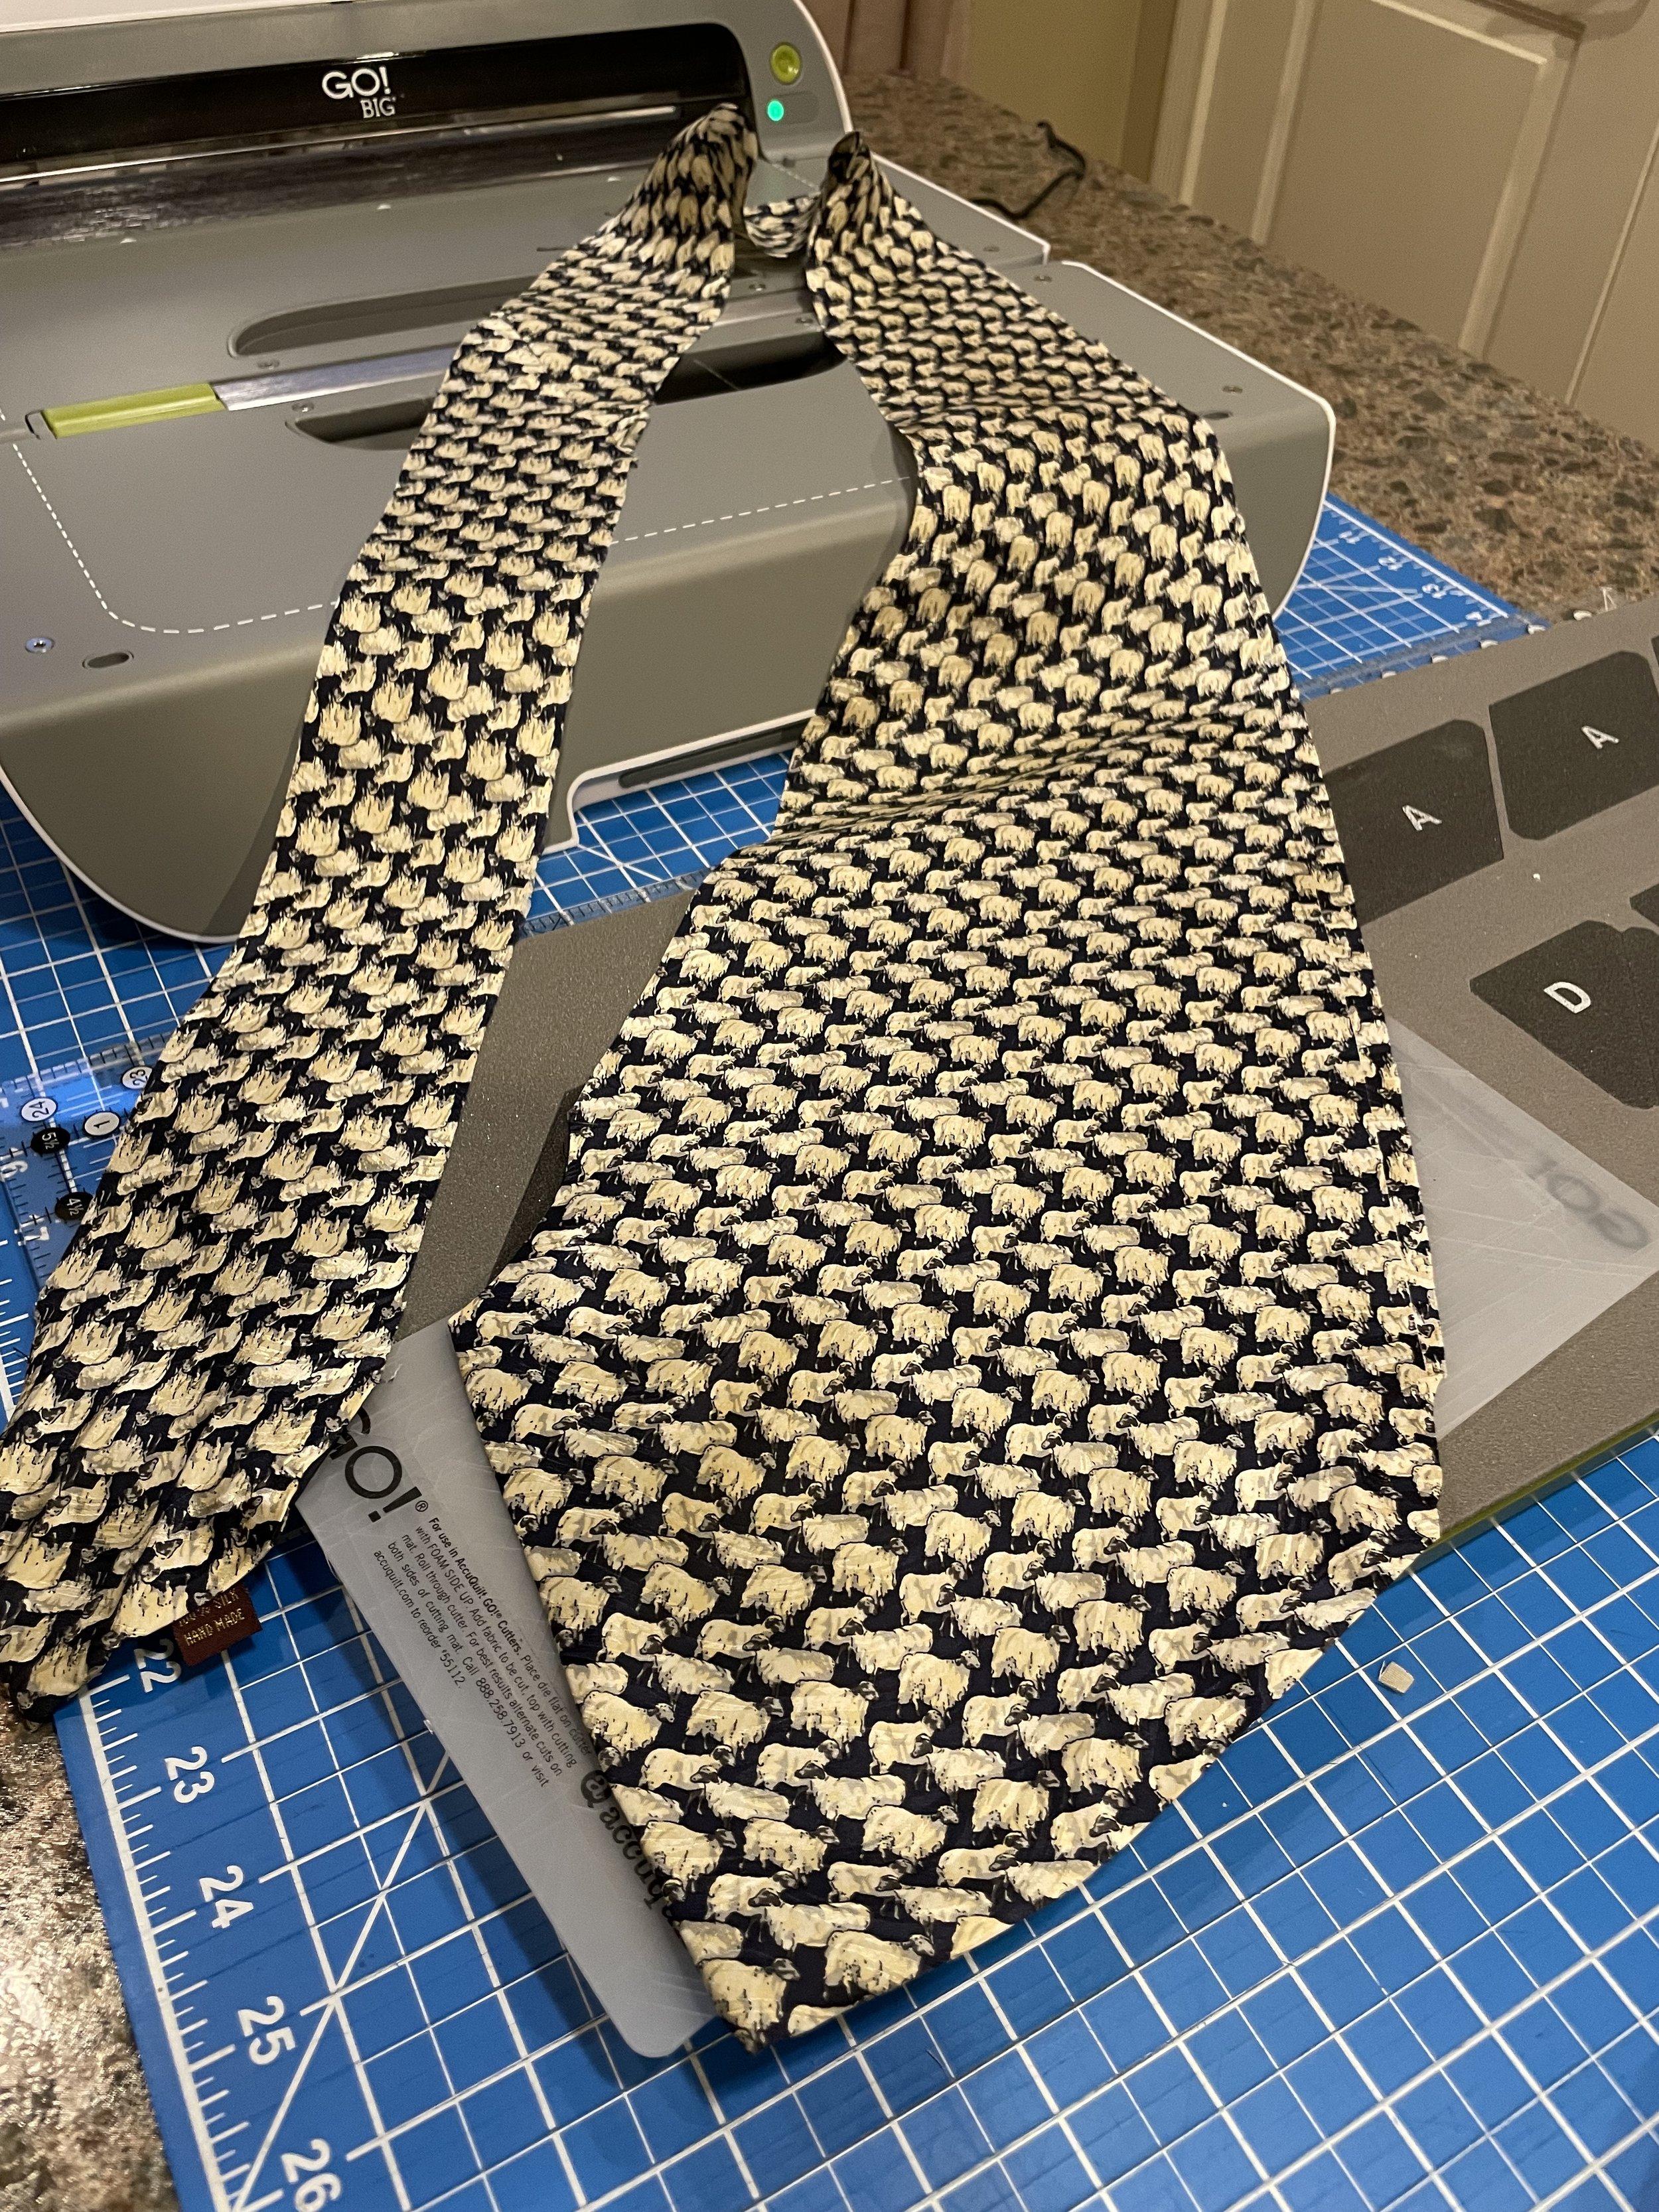

I used my Accuquilt to cut out the pieces for the Carpenter Wheel block, dividing the shirts into lights and darks to make sure the design elements stood out. No two blocks are the same, but they use most of the same fabrics. I picked out the seams of my father-in-law’s favorite tie and there was plenty of fabric to cut a diamond piece for each pillow. That tie holds many memories.


Once the blocks were pieced, I sewed them together with some border fabric into a big ‘quilt’ so I could load them onto the longarm and quilt them in one piece. I chose a quilting design called Apple Orchard to honor his lifelong farming passion.


After they were quilted I cut each block to about 23 1/2” square. I wanted to use 24” pillow forms and it’s best to make the pillow cover a little smaller than the pillow form size. After sewing, these pillow covers will be about 23” square or a little smaller, which will work great.
Two back pieces are needed for each pillow. Each back piece should be cut the same width as the pillow, or 23 1/2”, and the height should be about 3 or 3 1/2” more than half the width. So, since half the width is about 12”, I cut the back pieces 15 1/2” x 23 1/2”.
After the backs were cut, I hemmed one of the long edges of each piece. I zigzagged the edge and then pressed it over 1/4” before sewing it. It could also be pressed 1/4” twice and then sewed. This gives a nice finished edge to the back pieces.


Before sewing the pillow cover together, it’s time to add any embellishments to the pillow back. I added an adhesive microfiber label I made with our laser cutter, then sewed around the edge to secure it.


Pin the back panel that you want to be on top when the pillow is done to the pillow top, RST. Make sure the finished edge is towards the middle of the pillow and the raw edges are lined up with the raw edges of the pillow top. Using a 1/4” seam allowance, sew the panel to the pillow top, backstitching to reinforce several times at the beginning and end.
Pin the second panel over the first panel, right side down, with the finished edge towards the center of the pillow, lining up the raw edges of the panel with the edges of the pillow top. Sew the second panel to the pillow top, reinforcing the beginning and end.


Trim the corners, turn the pillow right-side out, and use a pencil or other pointed object to turn the corners and make the points nice and sharp.


And, voila! A finished throw pillow cover, easy as that!
Check out the video tutorial here.